Unforeseen fabric shrinkage reaps havoc in clothing manufacturing. It sets off a chain of errors including incorrect patterns, failed quality specifications, and loss of fabric. Pattern makers bear all these difficulties and, consequently, face time constraints and inflated costs. A key skill is knowing the calculation of fabric shrinkage. It allows you to make better markers and have successful production runs in 2026. This will be the guide for you to learn the calculation. You will be taught to use it in your patterns and will find out how to make it less problematic by using different fabrics.

Key Takeaways
- Calculate Shrinkage: For both warp and weft, use the formula of
Shrinkage % = ((Original - Final) / Original) * 100. - Adjust Patterns Accurately: Resize the patterns following the principle of
New Dimension = Original / (1 - (Shrinkage % / 100)). - Reduce Waste: The increase in shrinkage means a decrease in marker efficiency. Fabric can make up 60-70% of a garment's cost. Thus, it is essential to cut the waste down.
- Pick Stable Fabrics: Choose fabrics with low and pre-shrunk stability (below 3%). By doing this, you will save marker paper, fabric, and money.
The Core Formula: A Step-By-Step Calculation Of Fabric Shrinkage
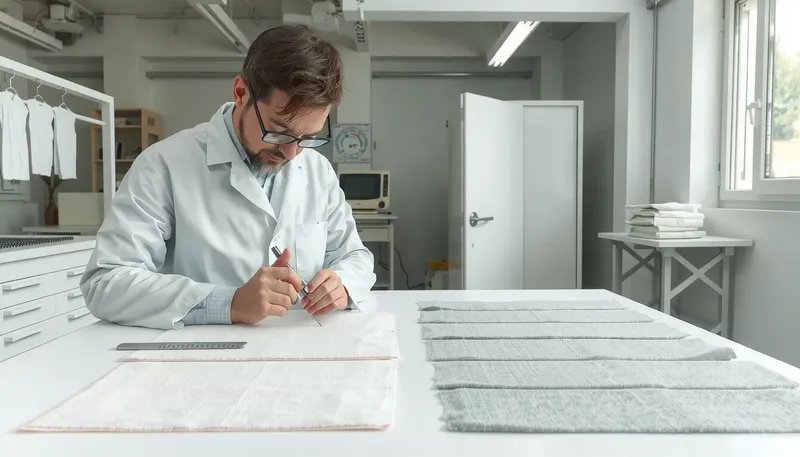
The first step is to get the accurate number. For that, you need a uniform testing method. By following the steps below, you'll gain reliability in your results.
The 4-Step Testing Procedure
Following standardized rules of testing will guarantee your fabric shrinkage calculation is accurate.
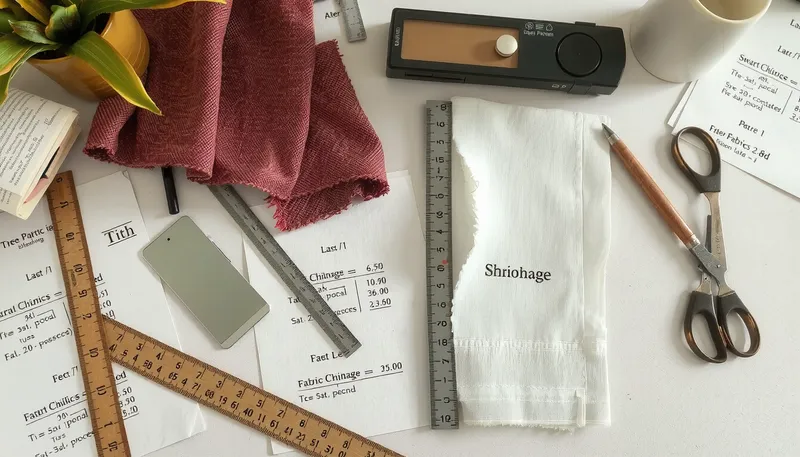
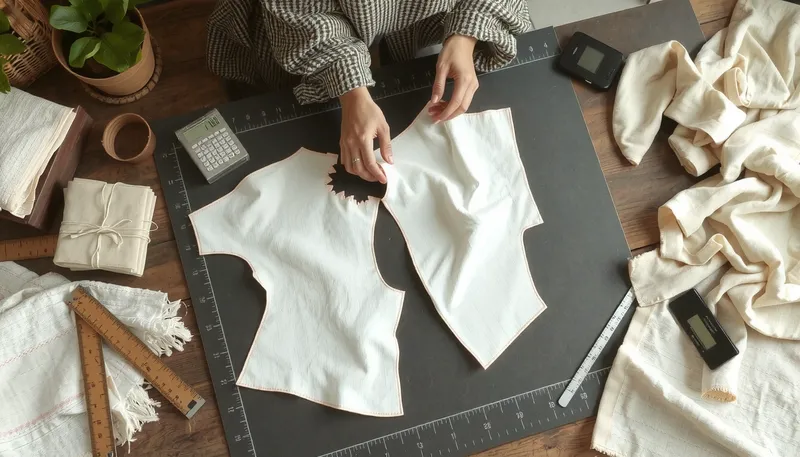
- Sample Preparation: Cut out a square fabric swatch, say 50cm x 50cm. Then draw a smaller square inside it using a fabric marker. Clearly mark the corners. This will be your measurement area for the warp (length) and the weft (width).
- Washing & Drying: Wash and dry the swatch under the fabric's care label instructions. This process simulates how the end-user would handle the garment.
- Conditioning & Remeasuring: Place the fabric on a flat surface till it is completely dry and cool. This enables the fibers to settle. After that, measure with care the distance between your original marks.
- Applying the Formula: Now plug your "before" and "after" measurements into the shrinkage formula.
The Shrinkage Math Made Clear
The math is straightforward. The main task is to do it for both the length and width of the fabric.
The formula is:
Shrinkage % = ((Original Dimension - Final Dimension) / Original Dimension) * 100
A practical example would be:
- Your original marked length (warp) was 50cm.
- After washing, the final length is 48cm.
- Calculation:
((50 - 48) / 50) * 100 = 4%Warp Shrinkage.
You will have to scale this calculation to the weft (width) measurement. In particular, knits may show a different behavior in the direction.
From Calculation to Action: Adjusting Patterns for Perfect Fit
Using the shrinkage percentage by itself is worthless unless you incorporate it in your patterns. This is where this type of maker's accuracy matters the most.
Application of the Shrinkage Factor
You cannot just simply insert the shrinkage percentage back to the pattern. This is a very common mistake.
To adjust your pattern accurately, apply this formula:
New Pattern Dimension = Original Dimension / (1 - (Shrinkage % / 100))
Let’s assume there is a sleeve pattern piece that is 60cm long. With a 4% warp shrinkage, we have:
60 / (1 - 0.04) = 60 / 0.96 = 62.5cm.
Your new pattern piece must measure 62.5cm in length. This ensures that the sleeve, after being finished and washed, will be the correct length of 60cm.
Electronic vs Manual Adjustments
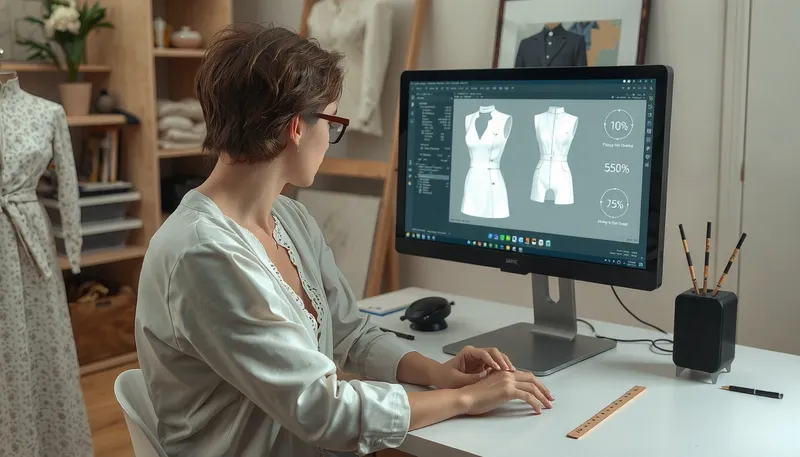
This adjustment can be made fast in modern pattern rooms. In CAD software, scaling is a function which can be done. This applies the percentage increase to your digital pattern pieces.
If you want to do it manually, you will need to redraw all of the pattern pieces on paper, using the newly calculated dimensions. For complex projects, using digital tools and calculators can help. They streamline these adjustments and prevent errors.
The Takeaway: How Choosing Stable Fabrics Cuts Costs and Increases Marker Efficiency
Knowing how to compute fabric shrinkage & consumption is more than a technical know-how; it is cost control.
The Actual Cost of Fabric Shrinkage
When you factor in shrinkage, the patterns become bigger. This is because bigger patterns will fill in more empty spaces in a marker layout which is bad fabric usage.
Considering that fabric is frequently 60-70% of the garment price, small improvements in the fabric yield can make significant savings. Lower fabric consumption in markers means that less is ordered, used, and wasted.
The Intelligent Way: Select Fabrics with Low Shrinkage
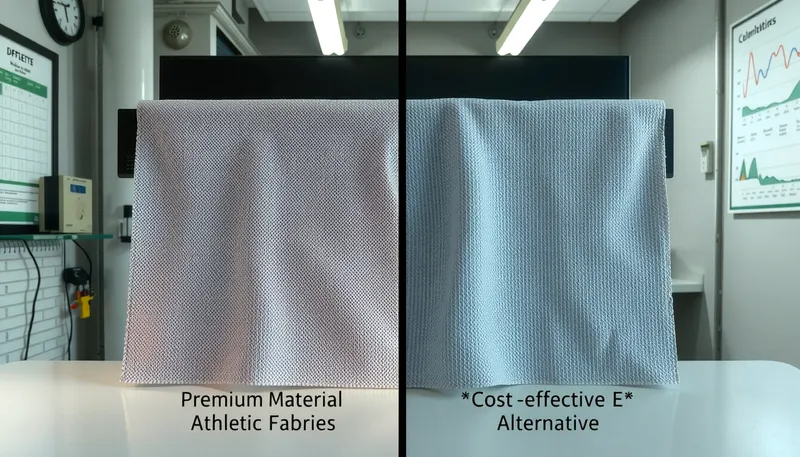
The easy way to tackle costs is by selecting stable fabrics right from the beginning. The lower the shrinkage, the closer your patterns will be to the finished garment's actual size. In turn, this will allow for denser nesting and yield better.
To illustrate, there are some fabrics that are made specifically for this purpose. Take the Nylon Interlock| D036: The 160gsm Interlock That Won't Curl or Warp Prints, for example. This is a fabric made with a "One-Open-One-Close" knit structure. It gives the canvas the strength of a woven material. The fabric is designed with a pre-shrunk stability of less than 3%. That alone means less fabric waste and more predictable production outcomes. Your final calculation of fabric consumption will also be more accurate.
FAQ: Your Fabric Shrinkage Questions Answered
Here are brief answers to frequently asked queries concerning the calculation of fabric shrinkage.
What is the acceptable percentage of fabric shrinkage?
The percentage varies with the type of fabric. For top-quality knits, under 5% is good while under 3% is excellent. Woven fabrics usually have a shrinkage of less than 3%. The standard is for the kind of product you are manufacturing.
Should I test each new roll of fabric?
Yes, that is best practice. To get a proper understanding of the way to calculate and rectify fabric shrinkage, you must test every new dye lot or shipment. Mills may have minor differences between batches so that step is a must for professional quality control.
Can't I just pre-wash all the fabric instead of calculating shrinkage?
While pre-washing fabric works well in home sewing, it is not sufficient or cost-effective for bulk production. The costs in time, labor, and energy are just too high. The calculation method is what the industry adheres to for mass production.
Are knit and woven fabrics affected equally by shrinkage?
Knits have more potential for shrinkage, especially in length (warp). The looped structure of knits is less stable whereas a woven fabric has a closed grid. Though wovens are more stable, they too can change in size, especially with natural fibers such as cotton or linen.
How do I calculate if a fabric expands after washing?
You will need to use the same formula. The "Final Dimension" will be greater than the "Original Dimension," which results in a negative percentage. This negative figure occurs because of the expansion of the fabric. After that, you would adjust your pattern to be smaller.
Written by Forall Lab
© Forall Lab • Powered by Kunpeng ONE